Overview of Shirt Sizing Conventions
Shirt sizes vary worldwide: US, UK, EU charts differ, and brands tweak cuts. Knowing chest, neck, sleeve, and fit style helps match the right size across markets. Tailored fit guides worldwide.
Global sizing standards (US, UK, EU, etc)
In the United States, shirt sizes are typically labeled with letter grades (S, M, L, XL) or numeric chest measurements in inches. The United Kingdom follows a similar lettering system but often adds a “UK” prefix, and many retailers provide a conversion chart to US sizes. European sizing uses a numeric system based on chest circumference in centimeters, with 44, 46, 48, 50, etc. These numbers correspond roughly to 17.5–18.5, 18.5–19.5, 19.5–20.5, 20.5–21.5 inches in the US. Japan and Korea use a hybrid approach, combining chest measurements in centimeters with a letter or number to indicate fit. Because brands adjust cut and fabric, a single size can translate differently across regions, making conversion charts essential for accurate purchases worldwide.
Additional note: check the brand’s specific sizing chart before ordering, as variations in cut and fabric can shift the fit by a half size or more.
Brand-specific variations
Brand‑specific sizing quirks arise because each label tailors its measurements to its target demographic and fabric choice. A sportswear line may add an extra inch to chest and sleeve lengths to accommodate a relaxed, performance‑ready cut, while a luxury brand might reduce the chest width by a half inch for a sleek, tailored silhouette. Some companies use a “plus‑size” range that starts at 2XL and extends to 4XL, but the increments between sizes are larger than standard ranges, so a 2XL in one label could match a 3XL in another. Additionally, the definition of “regular,” “slim,” or “tall” varies: a slim fit from one manufacturer may be a regular fit from another, and tall models often feature longer sleeves and a higher shoulder seam. Because of these differences, shoppers should always consult the brand’s own conversion chart and read customer reviews for fit feedback before purchasing. Try a size up if you prefer loose fit.
Essential Measurement Tools and Techniques
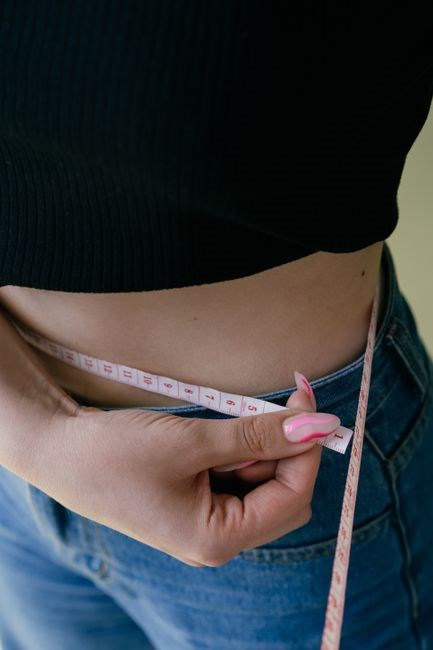
Use a flexible tape measure, a caliper for precise chest, and a ruler for sleeve. Keep the tape snug, level, and record each measurement accurately for best fit. Double-check measurements.
Tape measure and caliper usage
A flexible tape measure is essential for accurate chest, and sleeve measurements. Wrap it snugly around the widest part of the chest, ensuring it lies flat against the skin. For sleeve length, measure from the center back at the shoulder seam to the wrist bone. When using a caliper, apply it to the chest area to capture width across the back, which helps differentiate between regular slim fits. Keep the tape level, avoid slack, and record reading to the nearest half‑inch. Consistent technique reduces errors and ensures a reliable fit across brands and countries. Use a calibrated ruler for sleeve length and double‑check chest width at the back to account for fabric stretch. When measuring, keep the tape parallel to the floor and avoid pulling it tight, as this can distort dimension. Finally, record all measurements in inches and centimeters to accommodate international sizing charts. This guarantees fit for shirts worldwide. fit.!
How to prepare for measuring
Before you start, choose a flat, well‑lit area and lay a clean sheet on the floor. Wear a fitted top or a light undershirt to avoid bulk. Keep your phone or a notepad handy for notes, and have a ruler or a second tape measure for cross‑checking. Remove any jewelry that might interfere with the tape. Stand straight, shoulders relaxed, and breathe normally; this ensures the tape lies flat against the body. If you have a friend, ask them to help hold the tape at the back, keeping it level. Check that the tape’s zero point is aligned with the measurement start point, and that the tape is not twisted. Finally, read the measurement to the nearest half‑inch or 0.5 cm, and record it immediately to avoid forgetting.
Gather a measuring kit, a mirror, and a notepad. Stand with feet together, shoulders back, arms relaxed. Ensure the tape is snug but not tight, double‑check measurements to avoid errors. Keep a record for future reference
Keep the tape straight and avoid slack that could distort measurement. Record each table noting units double‑check consistency before finalizingForfit
Keep tape straight, avoid slack, ensure accurate measurement. Record each table noting units, double‑check consistency, and finalize confidently. for all.
Core Body Measurements for Shirt Sizing
Chest, neck, sleeve, body length, and waist measurements form the core data set. Measure with a flexible tape, keep it level, and record each value precisely for accurate sizing. off sale!
Chest circumference measurement
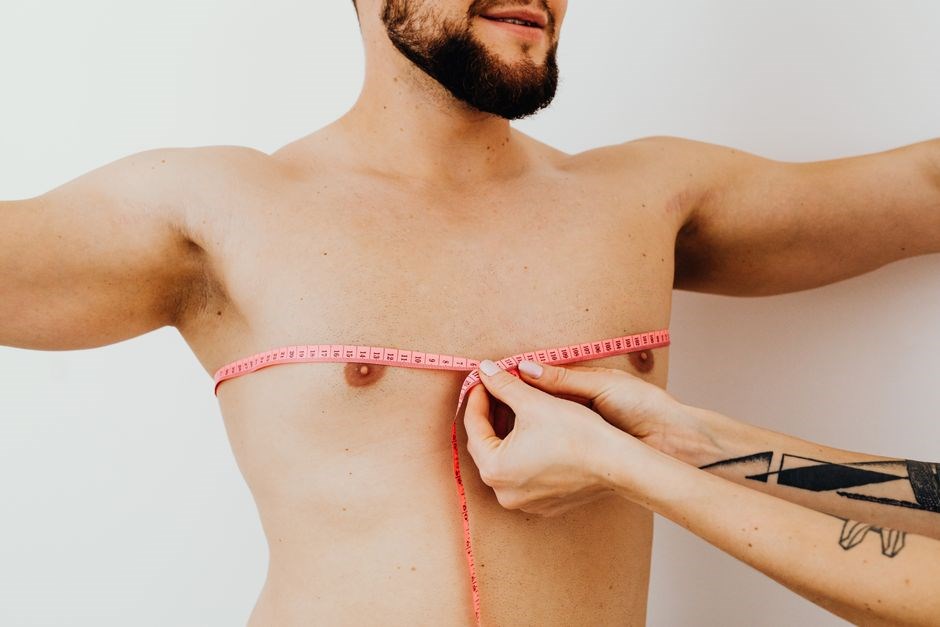
To measure chest circumference, stand upright and relax shoulders. Place a flexible tape measure around the fullest part of the chest, just under the armpits, ensuring it is horizontal and snug but not tight. Record the measurement in inches or centimeters. This figure is critical for determining shirt size, as it directly influences the fit across the torso. Compare the result to brand-specific charts to select the appropriate size. Always double‑check for consistency by measuring twice and averaging the readings. When the tape is snug, note the number where the end meets the rest of the tape. If the measurement is between two sizes, choose the larger size for a relaxed fit. Some brands recommend adding 1–2 inches for a loose fit, while others add only 0.5 inches for a slim look. Always keep the tape parallel to the floor and avoid twisting. A second measurement helps confirm accuracy. Record each measurement in a log so you can track changes over time and compare across brands!!.
Neck circumference measurement
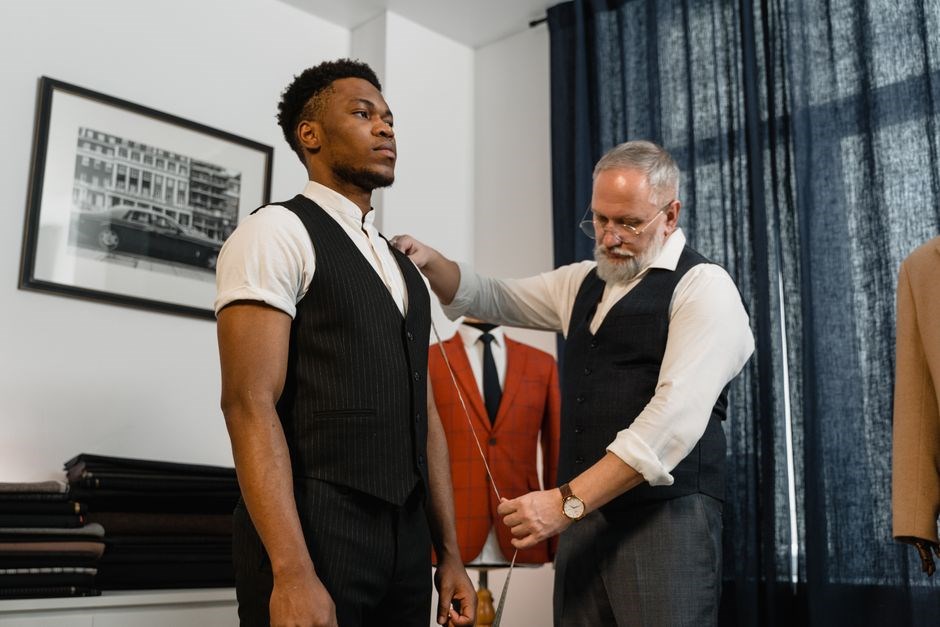
Stand straight with shoulders relaxed. Place a flexible tape around the base of the neck, just below the larynx, ensuring it lies flat against the skin. The tape should be snug but not compressive; a slight give is acceptable. Record the measurement in inches or centimeters. Keep the tape level and avoid twisting to prevent skewed readings. If wearing a shirt, remove it and measure on bare skin for accuracy. Having a friend assist can keep the tape straight and tight. After recording, consult the brand’s size chart to determine the collar size. If the measurement is close to the next size, consider your fit preference: a tighter collar suits formal wear, while a looser collar offers comfort for casual settings. Allow a small margin for growth or changes in weight. Documenting measurements over time helps track shifts and ensures consistent sizing for future purchases. Remember, a precise neck measurementis the foundation for well‑fitted shirt, ensuring style comfort.!!
Sleeve length measurement
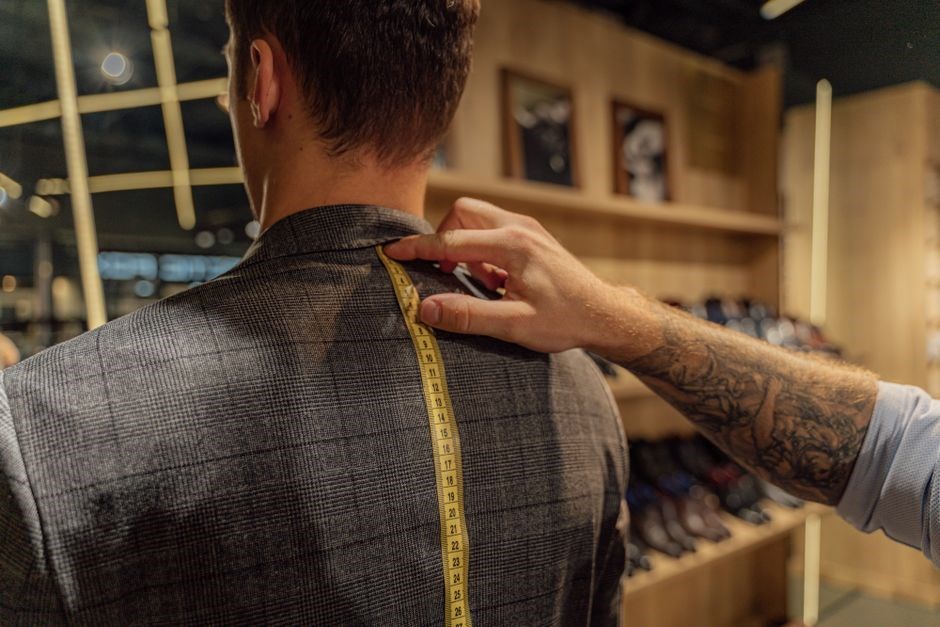
To measure sleeve length accurately, start by standing upright with arms relaxed at your sides. Place a flexible tape measure at the center back of your neck, just below the hairline, and run it over the shoulder to the wrist. Ensure the tape follows the natural curve of the arm, keeping it taut but not tight. Measure from the highest point of the shoulder seam to the wrist bone, where the cuff typically ends. For a more precise result, measure the arm from the shoulder joint to the wrist, then add a small allowance (about ½ inch) for cuff width. Record the measurement in inches or centimeters. Compare this figure to the manufacturer’s sleeve chart, noting that some brands use a longer sleeve for a relaxed fit or a shorter sleeve for a tailored look. Adjust your choice based on the intended style and your arm length. Consistent measurement technique guarantees a better fit and reduces returns. When measuring, keep the tape level across the shoulder to avoid distortion. For a slim fit, aim for a shorter sleeve; for a relaxed fit, allow length. Double‑check measurements for consistency.
Body length measurement
Body length is measured from the highest point of the shoulder, where the collar sits, down to the bottom hem of the shirt; Stand straight with shoulders relaxed. Place the tape at the top of the shoulder, run it down the center of the back, and stop at the hemline. Keep the tape snug but not tight, and record the measurement in inches or centimeters. This dimension affects shirt fit; too short exposes waist, too long looks baggy. For a tailored fit, choose a length that ends just below the waistline. Always double‑check by measuring a shirt you already own that fits well, then match that length. Accurate body length measurement ensures a polished, proportionate look in both casual and dress shirts!!
Use a flexible tape that follows the curve of your arm and shoulder. Keep the tape snug but not tight. Add half an inch for relaxed fits, or keep it shorter for tailored look. Compare your measurements to the brand’s chart to avoid returns!!!
Waist (or natural waist) measurement for fitted shirts
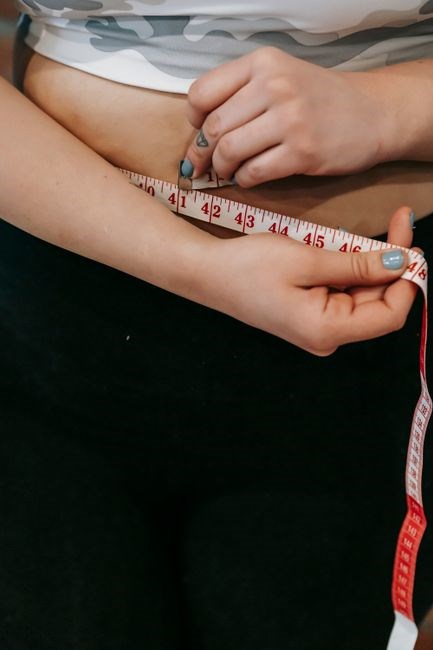
For fitted shirts, the waist measurement is critical. Locate the natural waistline, the narrowest part of your torso, usually just above the belly button. Stand upright, relax your core, and place a flexible tape measure around this point. Ensure the tape is level, parallel to the floor, and snug but not compressing the skin. Record the measurement in inches or centimeters. Fitted shirts often use waist data to determine the cut and length; a tighter waist can elongate the torso, while a looser waist may create a boxy silhouette. Compare your waist measurement to the brand’s size chart, noting that some labels use “waist” for the chest measurement. If your waist falls between sizes, choose the larger size. Always measure a shirt you already own that fits well, then match that waist dimension for consistency. Accurate waist measurement ensures a streamlined, tailored look that complements the overall fit style! This measurement guides precise tailoring comfort! for fit.OK
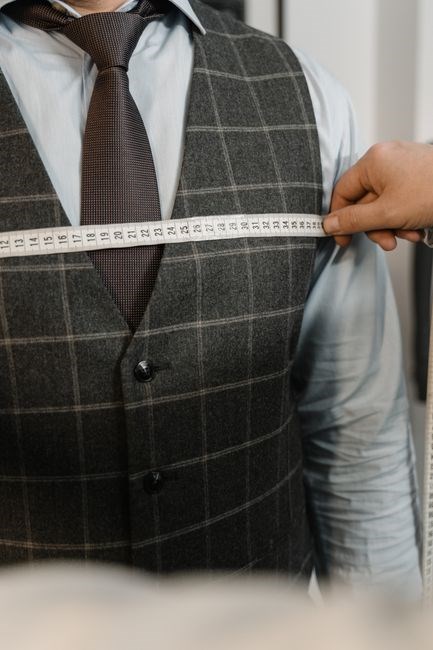
Understanding Fit Styles and International Size Conversion
Fit styles vary: Regular offers classic length, Slim trims shoulders and waist, Big & Tall adds extra length and width. Convert US to UK/EU by subtracting 2–3 sizes; online calculators help. now!!!
Regular shirts follow a classic silhouette: shoulders sit at the natural width, the chest is uncut, and the sleeve length matches a standard 32–34 inch range. Slim fits taper the chest and waist, giving a streamlined look; shoulders are slightly narrower and the sleeve is shorter, often 30–32 inches. Big & Tall adds extra length and width: chest and sleeve increase by 2–4 inches, and the body length extends to accommodate taller frames. When measuring, a regular size uses the full chest circumference, a slim uses a 2–3 inch reduction, and a Big & Tall adds 4 inches to both chest and sleeve. Fit choice affects comfort, mobility, and the overall profile, so choose based on body shape and style preference.
Regular shirts have a 1–2 inch chest allowance, while slim shirts reduce this by 2–3 inches for a. Big & Tall shirts increase chest and sleeve by 4 inches to accommodate taller frames. Choosing the right fit ensures comfort and a polished appearance!!.
Converting US to UK and EU sizes
When translating shirt sizes across borders, a simple reference chart helps. US numbers usually match UK numbers for men’s shirts (e.g., US 4 = UK 4, US 6 = UK 6). For EU, the conversion is roughly EU 38 ≈ US 4, EU 40 ≈ US 6, EU 42 ≈ US 8, EU 44 ≈ US 10, EU 46 ≈ US 12). Women’s shirts follow a similar pattern, with EU 34 ≈ US 4, EU 36 ≈ US 6, EU 38 ≈ US 8, EU 40 ≈ US 10). Because brands vary, always check the manufacturer’s specific chart. If the US size is a half (e.g., 4½), the UK will also be 4½, while the EU will be the next even number (e.g., EU 40). For Big & Tall, add 2 inches to the chest measurement and adjust sleeve length accordingly. Using an online calculator can confirm the exact fit for a particular brand. Remember that sleeve length, chest circumference, and neck size also influence the final fit, so a conversion chart is a starting point, not a guarantee of a perfect fit. This guide also covers sizing nuances globally.
How sleeve length differs in tall sizes
In tall sizes, sleeve length extends beyond the standard 32–34 inches to accommodate longer arms. Manufacturers typically add 1–2 inches for every 2–3 inches of height above 6 ft. For example, a 6 ft 6 in tall man may receive a 36‑inch sleeve, while a 6 ft 10 in tall man gets 38 inches. Some brands offer a “tall” option that lengthens the torso and sleeve simultaneously, ensuring the shirt’s body length matches the wearer’s height. When measuring, wrap the tape from the center back, over the shoulder, to the wrist crease, and add the extra sleeve length indicated on the brand’s tall chart. Always compare the sleeve measurement to the shirt’s listed tall size to avoid a too‑short or too‑long fit. This adjustment is crucial for both dress and casual shirts, as a proper sleeve length maintains a polished appearance and prevents excess fabric at the cuffs. Tailored fit for tall.!
Using online size calculators
Online size calculators simplify the selection process by combining your chest, neck, sleeve, and body length measurements into a single recommendation. Most platforms ask for metric or imperial inputs, then cross‑reference brand‑specific tables to suggest the best fit. After entering your data, the tool displays a size chart, a fit style (regular, slim, or tall), and a confidence score based on how closely your measurements match the ideal range. Some calculators also allow you to upload a photo of a well‑fitting shirt; the algorithm analyzes the garment’s dimensions and compares them to your body metrics. This feature is especially useful for brands that don’t publish detailed measurements. When using a calculator, double‑check the units and ensure you’re measuring accurately—tape slack or misaligned measurements can skew the result.Finally,read the calculator’s notes on fabric stretch and recommended adjustments for different materials before placing an order.

Practical Tips for Accurate Shirt Sizing and Common Pitfalls
Measure twice, cut once. Keep tape snug, record numbers, compare to brand charts, test fit with a sample shirt. Avoid over‑stretching fabrics. Check brand fit guide now for all sizes today
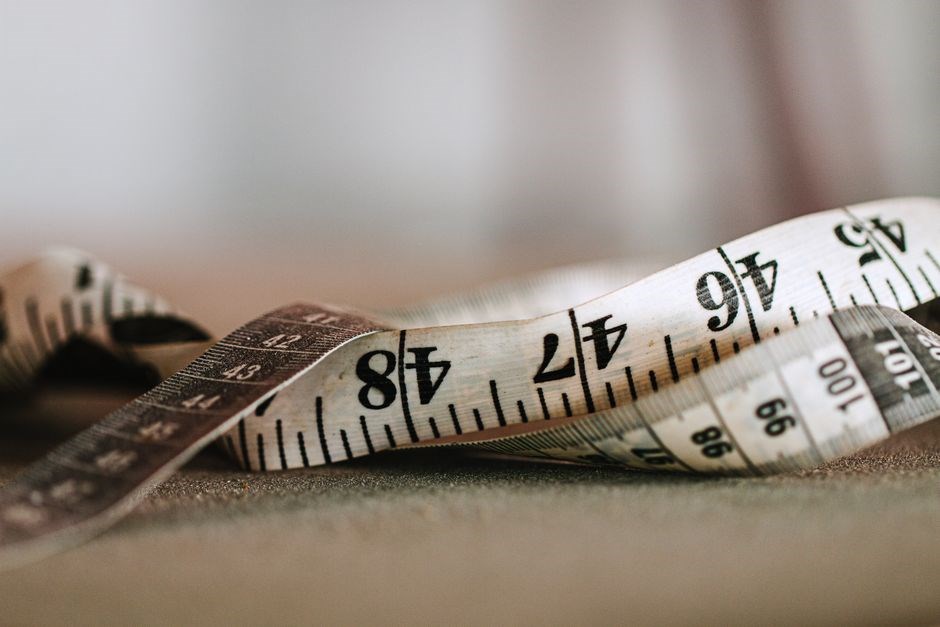
Measuring an existing shirt for reference
Start by laying the shirt flat on a clean surface, ensuring seams are straight. Measure the chest by placing the tape across the widest part of the ribcage, just under the arms, and record the length in inches or centimeters. Next, measure the sleeve length from the center back seam to the cuff edge, keeping the arm relaxed. For body length, measure from the highest point of the shoulder seam to the bottom hem. Neck circumference is taken by wrapping the tape around the collar area, flat, and noting the measurement. If the shirt has a waist or a natural waistline, measure that too. Record all numbers, compare them to the brand’s chart, and use the differences to adjust your online order. This method ensures you match the exact cut and fit of the shirt you already own, avoiding surprises when the new one arrives.
When using measurements, add 0.5 inches for a relaxed fit; subtract 0.5 for slim cuts. Double‑check the brand’s sizing chart for deviations.Check online.
Common sizing mistakes to avoid
Many shoppers misread charts, using chest instead of waist for fitted shirts, or ignoring sleeve length differences in tall sizes. They often measure with a flexible tape that is too loose, leading to oversized shirts. Forgetting to check the brand’s specific fit style—regular, slim, or big & tall—causes poor drape; Another error is ordering the next size up without considering fabric shrinkage, especially cotton. Some ignore the natural waist measurement, resulting in a tight midsection. Finally, neglecting to compare the new shirt’s measurements to an existing favorite can lead to repeated returns. Double‑check all numbers, read brand notes, and use a ruler for precise sleeve cuts. Remember to keep the tape snug but not tight, and avoid stretching the fabric. Also, note any variations in the shirt’s collar width, as a narrow collar may require a slightly larger neck measurement. Double‑check chest and waist against the brand chart ordering.
How to adjust for different fabrics
When sizing shirts made from varying fibers, account for their behavior after washing. Natural fibers like cotton and linen tend to shrink, especially when wet; a 1‑inch shrinkage can alter chest and sleeve dimensions. Polyester blends hold shape better but may feel tighter. To compensate, add 1‑2 cm to chest and sleeve measurements for 100% cotton, and 0.5 cm for linen. For polyester, use the exact measurement. Check the care label: “dry clean only” indicates minimal shrinkage. Pre‑wash a sample shirt in cold water, then dry on low heat; measure again to confirm final size. Also, heavier fabrics give a looser drape; if the shirt feels too loose, choose a slimmer cut. Light fabrics like chambray or seersucker can stretch; add a small margin. Finally, remember that some brands incorporate a built‑in stretch; test the shirt by pulling gently across the chest—no more than 1 inch. Adjust your order size accordingly to avoid returns. Remember to adjust for shrinkage when you wash shirt!!
Ordering online with confidence
Before clicking “Buy,” double‑check the brand’s size chart and compare your chest, neck, sleeve, and waist numbers. Use the online size calculator if available; it often matches US, UK, and EU metrics. Read customer reviews for fit notes—many note if a shirt runs small or large. If you’re between sizes, order the larger one; most retailers offer free returns. For tall or slim fits, verify sleeve length and body length in the product description. Finally, keep a copy of your order confirmation and tracking number; a quick return or exchange is smoother when you have all details handy. Also, check the retailer’s shipping policy—most offer free standard shipping and a 30‑day return window. Tracking numbers are emailed, and a prepaid return label If unsure about fit, some brands offer a live chat support to confirm measurements before purchase. Remember to review return policies and shipping times before finalizing your purchase!