Propel drones offer high-quality, user-friendly flying experiences with advanced features like HD cameras and 6-axis gyroscopes. Their detailed manuals ensure safe and enjoyable operation for all skill levels.
1.1 Overview of Propel Drone Models
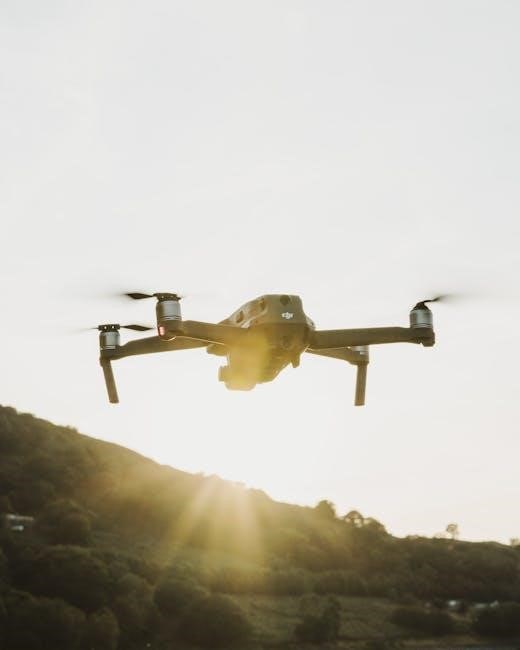
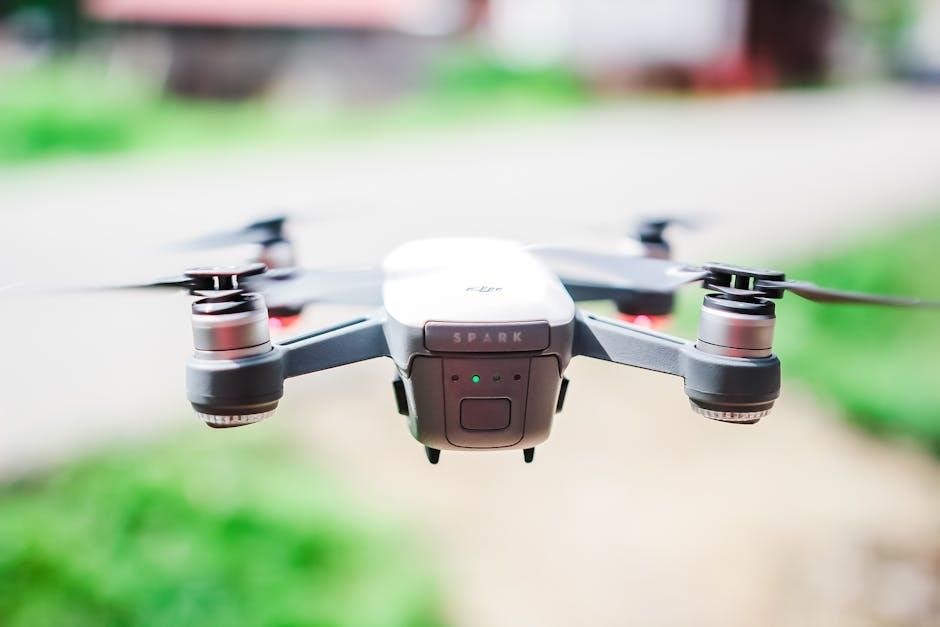
Propel offers a variety of drones, including the popular Star Wars TIE Fighter, X-Wing, and Speeder Bike models. These drones feature HD cameras, 6-axis gyroscopes, and robust builds. Designed for both enthusiasts and beginners, they combine innovative technology with user-friendly controls, making them accessible and enjoyable for a wide range of users.
1.2 Key Features and Benefits
Propel drones boast HD cameras, 6-axis gyroscopes for stability, and durable designs. They offer long flight times, intuitive controls, and customizable settings. Additional features include GPS navigation, multiple flight modes, and compatibility with mobile apps, enhancing both recreational and professional flying experiences while ensuring ease of use and versatility for all users.
Safety Precautions
Always follow safety guidelines to avoid accidents. Ensure proper pre-flight checks, avoid obstacles, and adhere to no-fly zones. Keep the drone in sight and fly responsibly.
2.1 General Safety Warnings
- Always keep the drone away from people and obstacles during operation;
- Avoid flying near airports, power lines, or sensitive areas.
- Ensure the battery is properly charged and avoid overcharging.
- Follow the instruction manual for safe assembly and usage.
- Do not fly in extreme weather conditions or low visibility.
2.2 No-Fly Zones and Regulations
Adhere to local aviation laws and regulations. Avoid flying near airports, national parks, or restricted areas. Check for no-fly zones using the drone’s app or local authority resources. Ensure compliance with privacy laws and respect restricted airspace to avoid legal consequences. Always follow regional drone flying guidelines for safe and responsible operation.
2.3 Emergency Procedures
In case of an emergency, land the drone immediately. If the drone malfunctions, move the control sticks to the lower position to reduce power. For system failures, disconnect the battery and avoid flying until the issue is resolved. Always prioritize safety and follow the manual’s specific emergency protocols for secure landings.
Pre-Flight Checks
Always inspect the drone’s propellers for damage, ensure the battery is fully charged, and verify drone registration. Check for loose parts and ensure all components are secure before flight.
3.1 Battery and Charging Instructions
Install the battery correctly as per the manual, ensuring it clicks securely. Charge the drone and remote using the original charger, avoiding overcharging. Allow 30-60 minutes for a full charge. Always use original Propel accessories to prevent damage. Avoid extreme temperatures during charging. A fully charged battery typically offers 8-10 minutes of flight time.
3.2 Propeller Inspection and Maintenance
Inspect propellers for cracks or damage before each flight. Replace damaged propellers immediately to ensure safety and stability. Clean dirt or debris with a soft cloth. Tighten loose propellers securely. Regularly check for wear and tear, as propellers are prone to damage. Store them safely to prevent accidental breakage or bending.
3.3 Drone Registration Requirements
Ensure your Propel drone meets local aviation authority regulations. Drones weighing over 0.55 pounds require registration. Display the registration number on the drone. Carry proof of registration during flights. Check age requirements and renewal periods. Failure to comply may result in fines or legal action. Always follow regional drone registration guidelines.
Understanding Drone Components
Propel drones include motors, propellers, ESCs, flight controllers, and cameras. Each component ensures stability, maneuverability, and optimal performance during flights.
4.1 Identification of Key Parts
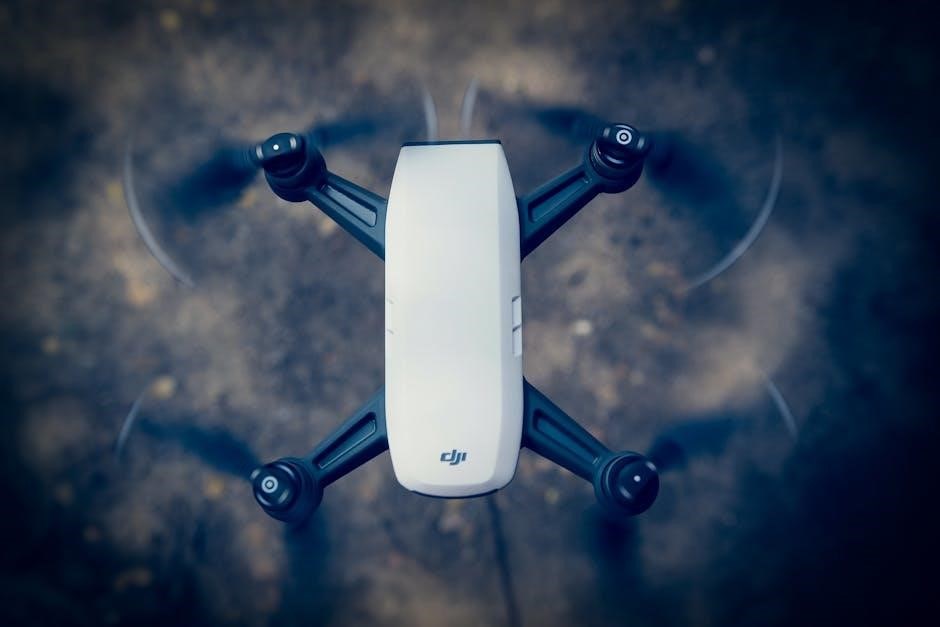
The Propel drone consists of essential components like motors, propellers, and Electronic Speed Controllers (ESCs). The flight controller stabilizes the drone, while the camera captures HD footage. These parts work together seamlessly for optimal performance and control during flights.
4.2 Controller Functions and Layout
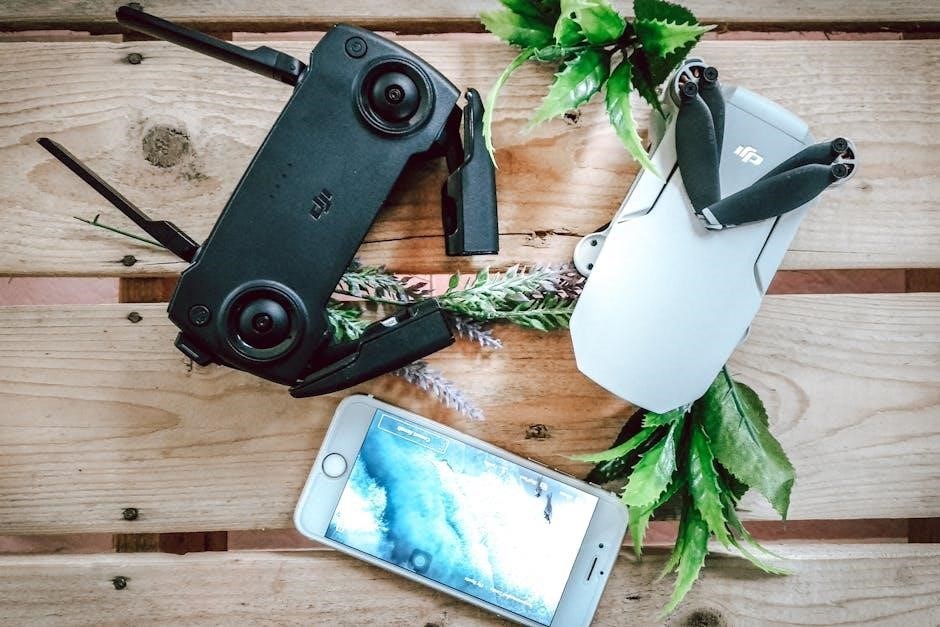
The controller features dual joysticks for precise flight control, with buttons for mode switching and camera operation. LED indicators show battery status and pairing confirmation. The ergonomic design ensures comfort during long flights, while the intuitive layout simplifies navigation for both beginners and experienced pilots.
4.3 Camera and Gimbal Operation
The HD camera captures high-quality video and photos, streaming live footage to the controller. The 6-axis gimbal stabilizes the camera, ensuring smooth and steady recordings. For optimal results, calibrate the gimbal before flight. Use the controller buttons to adjust camera settings or take photos. Ensure the camera is protected during transport for longevity.
Pairing the Drone with the Controller
Pairing involves syncing the drone and controller via button presses or stick movements. Follow the manual’s step-by-step guide to ensure a successful connection for smooth flight control.
5;1 Step-by-Step Pairing Process
- Ensure the drone is powered on and the controller is turned off.
- Press and hold the pairing button on the drone until LEDs flash.
- Turn on the controller and move the right stick to maximum position.
- Hold for 3 seconds until LEDs stop flashing, confirming successful pairing.
5.2 Troubleshooting Pairing Issues
- Reset the drone by turning it off and on again.
- Ensure the controller and drone batteries are fully charged.
- Move the right stick to the maximum position and hold for 3 seconds.
- Restart both devices and repeat the pairing process.
First Flight Instructions
Start rotors by moving sticks down and out, then lift off slowly. Use basic controls for movement and land by lowering the left stick gradually.
6.1 Starting the Rotors and Taking Off
Move both control sticks down and out to start the rotors. Once spinning, slowly push the left stick up to ascend. Ensure a clear area and steady hands for smooth takeoff.
6;2 Basic Flight Controls and Movements
Use the left stick to control throttle (up/down) and yaw (left/right rotation). The right stick manages pitch (forward/backward) and roll (left/right movement). Start with small movements for stability. Practice in an open area to master these controls. Always prioritize smooth, gradual adjustments for a safe and enjoyable flight experience.
6.3 Landing Safely
Slowly lower the drone by reducing the throttle with the left stick. Ensure a stable hover before descending. Choose a flat, obstacle-free area. Avoid sudden movements. Once close to the ground, gently reduce power until the drone lands. Shut off the rotors using the control sticks as detailed in the manual.
Advanced Flying Techniques
Master 360-degree flips, GPS navigation, and stabilization features. Explore various flight modes for enhanced control and precision, perfect for enthusiasts seeking advanced drone operation capabilities and excitement.
7.1 Performing 360-Degree Flips
To perform a 360-degree flip, start by moving both control sticks down and out to begin rotor spin. Once spinning, press the flip button and move the right stick in your desired direction. Ensure a safe altitude and clear area for practice. This maneuver showcases the drone’s agility and responsiveness during flight.
7.2 Using GPS and Stabilization Features
Activate GPS mode for precise positioning and altitude control. The stabilization system ensures smooth flight, reducing wobble and improving video quality. Enable obstacle avoidance to prevent collisions. These features enhance stability, especially in windy conditions, allowing for more controlled and confident flying experiences with your Propel drone.
7.3 Flying in Different Modes
Explore various flight modes to enhance your experience. Sport Mode increases speed and agility, while GPS Mode provides stability and altitude hold. Manual Mode offers full control for advanced maneuvers. Each mode is designed to cater to different skill levels and flying conditions, ensuring versatility and fun for all Propel drone pilots.
Customization and Upgrades
Customize your Propel drone with adjustable settings, upgrade hardware components for enhanced performance, and install firmware updates to ensure optimal functionality and personalized flying experiences.
8.1 Customizing Drone Settings
Adjust flight modes, sensitivity levels, and camera settings via the Propel app or controller. Customize LED lights and optimize stabilization for smoother flights. Access advanced settings to tailor performance to your flying style and preferences, ensuring a personalized experience with every mission.
8.2 Upgrading Hardware Components
Enhance your Propel drone’s performance by upgrading propellers, motors, or the gimbal. Follow the manual’s step-by-step guide for replacing parts. Ensure compatibility and proper installation for optimal functionality. Regular updates and genuine accessories maintain peak performance and extend drone longevity.
8.3 Installing Firmware Updates
Regularly update your Propel drone’s firmware to improve performance and add new features. Download the latest version from official sources, then connect your drone to a computer or app. Follow on-screen instructions to install updates, ensuring your device is fully charged. Updates enhance stability, security, and functionality for a seamless flying experience.
Maintenance and Repair
Regularly clean your Propel drone and inspect for damage. Replace worn or damaged parts promptly. Store the drone in a dry, cool place to ensure longevity and performance.
9.1 Cleaning and Servicing the Drone
Regularly clean your Propel drone with a soft cloth to remove dirt and debris. Use compressed air to gently clear dust from sensors and motors. Avoid harsh chemicals. Inspect propellers for damage and balance them for optimal performance. Service the drone after every 10 flights to ensure longevity and reliability.
- Clean the body and sensors.
- Inspect and balance propellers.
- Check for loose connections.
9.2 Replacing Damaged Parts
To replace damaged parts on your Propel drone, first diagnose the issue using the manual. Purchase genuine replacement components from authorized sellers. Power off the drone, remove the battery, and carefully disassemble the affected area. Replace the part following the manual’s instructions and reassemble. Test the drone to ensure proper function.
- Use only genuine Propel parts.
- Follow the manual for disassembly.
- Test the drone post-replacement.
9.3 Storing the Drone Properly
Store your Propel drone in a cool, dry place away from direct sunlight. Remove the battery and store it separately in a protective case. Avoid extreme temperatures and humidity. Clean the drone before storage to prevent dust buildup. Use the original packaging or a sturdy case for protection.
- Cool, dry environment;
- Remove and store the battery safely.
- Avoid extreme conditions.
- Use protective casing.
Troubleshooting Common Issues
Troubleshoot common Propel drone issues by restarting the device, checking connections, and recalibrating sensors. Consult the manual or contact support for unresolved problems.
- Restart the drone and controller.
- Check battery levels and connections.
- Recalibrate sensors if necessary.
10.1 Diagnosing Flight Problems
Identify flight issues by checking propeller damage, calibration, and sensor functionality. Ensure proper battery installation and connection. Restart the drone and controller to resolve software glitches. Consult the manual for specific troubleshooting steps tailored to your Propel drone model.
- Inspect propellers for damage or imbalance;
- Verify sensor calibration and battery levels.
- Restart the drone and controller.
- Refer to the manual for model-specific guidance.
10.2 Resolving Connectivity Issues
Ensure the drone and controller are properly paired. Restart both devices and check for interference. Verify the controller batteries are charged and installed correctly. Re-sync the drone and controller by following the manual’s pairing instructions. Ensure no physical obstructions block the signal for optimal connectivity.
- Power-cycle the drone and controller.
- Re-pair the devices following manual steps.
- Check for physical or signal obstructions.
- Verify battery installation and charge levels.
10.3 Addressing Battery Life Concerns
Refer to the manual for optimal charging procedures. A fully charged battery provides up to 8 minutes of flight, depending on conditions. Consider purchasing additional batteries for extended use. Ensure proper installation and avoid overcharging to maintain battery health.
- Avoid overcharging to prolong battery life.
- Store batteries in a cool, dry place.
- Clean battery contacts regularly for optimal performance.
Legal and Ethical Considerations
Propel drones require adherence to privacy laws, responsible flying practices, and environmental regulations. Users must always ensure compliance with local aviation rules to maintain legal and ethical standards.
11.1 Privacy Laws and Best Practices
When operating a Propel drone, ensure compliance with privacy laws by avoiding flights over private property or sensitive areas. Always inform individuals before recording and store footage securely. Adhere to local regulations to respect personal privacy and maintain ethical flying standards.
11.2 Environmental Impact
Responsible drone use minimizes environmental disruption. Avoid flying near wildlife or sensitive ecosystems to prevent disturbance. Follow local regulations to protect natural habitats and ensure sustainable enjoyment of outdoor spaces while flying your Propel drone.
11.2 Responsible Flying Practices
Always fly your Propel drone in open spaces, away from people and obstacles. Respect privacy by avoiding overflying private property. Adhere to local laws and safety guidelines to ensure responsible and ethical drone operation, promoting a positive experience for both pilots and the community.
Mastering your Propel drone requires practice and adherence to guidelines; For additional support, visit the official Propel website or consult authorized dealers for expert assistance and resources.
12.1 Final Tips for Mastering Your Propel Drone
Regularly update firmware, calibrate sensors before flights, and practice in open spaces. Use the HD camera wisely for stunning videos. Follow safety guidelines and explore advanced modes for better control. Refer to the manual for troubleshooting and maintain your drone to ensure optimal performance and longevity. Happy flying with Propel drones!
12.2 Recommended Accessories and Tools
Invest in extra batteries, chargers, and propeller guards for extended flights. A high-quality carrying case protects your drone during transport. Additionally, consider a microSD card for HD video storage, a screwdriver set for repairs, and a cleaning kit. These accessories enhance your Propel drone experience and ensure optimal performance and longevity.
12.3 Where to Find Additional Support
Visit Propel’s official website for comprehensive support resources, including FAQs and troubleshooting guides. Contact customer service via email or phone for direct assistance. Engage with community forums for user tips and shared experiences. Authorized service centers also provide professional repairs and maintenance, ensuring your drone operates at peak performance.